Guide: TT-RSS on Yunohost on a VPS
published on 2022-03-09
I am a big fan of RSS – both as a concept (easily readable and cataloged website updates) as “what it stands for” (an internet made from decentralized, low-weight information sources). The stories of its demise are largely exaggerated and are mostly fueled by the fact that the incumbent social media channels don’t support it – not because they can’t, but because it leads audiences away from their platform. However, close to all CMS have Atom/XML feeds enabled by default; good luck finding a blog or news website without one. Furthermore, there are many community-driven tools to make sure that ‘the rest’ is covered (such as Kill The Newsletter for emails, Nitter for Twitter, and rss-bridge for pretty much everything else).
RSS feeds on their own are awesome, but you’ll need a reader to… read them with. The internet’s reader of choice used to be Google Reader, which is now unfortunately defunct. Luckily, there are tons of great services that do pretty much the same thing:


In most of the free plans coming with the above solutions, you can do the essentials: add (a limited number of) feeds and read them. And for most people, that will be more than enough. However, if you want to have the best experience (no ads, automation, filters, etc.), you’ll have to pay. I should know: I was a paying Inoreader customer for 4 years, and never regretted it.
In 2022, I decided to make the switch towards a self-hosted instance. I won’t go into detail about why/when you should (not) self-host anything, check out Yunohost's own summary for and against self-hosting to make the decision for yourself. As I’m only a bit of a tinkerer, and by no means anything close to an SWE or systems geek, I decided to take a relatively easy route without foregoing usability and security.
After some research, I found the sweet spot: Tiny Tiny RSS via YunoHost on a dirt-cheap Linode VPS. In this dummy-proof blog post, I’d like to cover the A to Z of setting this up in 30 minutes – 2 hours, depending on your technical skill level.
Prepping your server
Your RSS reader needs to live on a server, either one that you plug in your own power outlet or one that you rent. I chose the latter option, because it’s the easiest (especially in terms of securing your box), but don’t let that hold you back. If you’re in it for the long run, it may be cheaper though ($5/mo rent VS $50 for the box and negligible electricity costs).

Many companies offer very low-cost (and low-horsepower) Virtual Private Servers (aka VPS). I chose Linode, but you can just as well go for alternatives such as DigitalOcean or Vultr. All these companies’ options have pretty much the same specs and ‘extras’ for the exact same price range. They even have the same “$100 credit in first 60 days” offer – which we won’t overrun, we’re renting the absolute cheapest box anyway.
After creating an account, follow these steps:
- -> Create your first Linode with the following configuration:
- Distribution (image): Debian 11 (note: NOT 12, YunoHost doesn’t support this at the moment of writing)
- Region: whichever is closest to you
- Linode plan: Shared CPU > Nanode 1 GB (this is more than enough)
- Label: choose any name you like
- Root password: whatever you choose (make sure to keep this close for the remainder of the install)
- -> Wait until your Linode has booted up
- -> SSH into it
- Open PowerShell or any command line on your local computer.
- Copy and paste the SSH access found on your Linode page (replace
000.000.000.000).
$ ssh [email protected]- -> When asked to continue connecting, answer
yesand press ENTER.
The authenticity of host '(([host]))' can't be established.

ECDSA key fingerprint is SHA256:(([fingerprint])).

Are you sure you want to continue connecting (yes((/no/[fingerprint])))?- -> When asked for your password, enter it. (note: password text is invisible in most terminals)
[email protected]'s password: ((password))- -> And that’s it for step 1: you now have access to a remote server with root access.
root@localhost:~#Installing YunoHost
If you’re not comfortable with Docker and an NGINX setup (which is what I prefer), you don’t want to install your RSS reader (and other web applications) directly on the machine. Instead, for this exercise we’re going to make life easy and install YunoHost, a Debian-based OS that does all the hard stuff for you. Similar solutions exist, but the ones I’ve tried are either less mature (CapRover), paid (Cloudron), or don’t have all the bling that we want (Sandstorm).

YunoHost is awesome for a variety of reasons, including the fact that they have a library of one-click app installs. If you want to know more, I suggest consulting their (noob-friendly) documentation.
To install YunoHost, take the following steps:
- -> Run the install script in your terminal:
curl https://install.yunohost.org | bash- -> Let your server download and install all the necessary packages. This can take a few minutes.
- -> When you see the following prompt, select
YESand press ENTER.
Are you sure you want to proceed with the installation of Yunohost?

[YES] (([NO]))- -> Once more, select “YES” and press ENTER.
Do you agree to let YunoHost apply those changes to your configuration and therefore affect the way you connect through SSH ?

[YES] (([NO]))- -> Your server will continue installing packages. This can take a few minutes.
- -> When it’s finished, you’ll want to configure your YunoHost instance. You can do this via the web interface, but the fastest way is to stay in our terminal a little longer and enter the following command:
yunohost tools postinstall- -> It will now prompt you to fill out your domain. YunoHost’s documentation explains this part better than I ever will, so I’ll let them do the talking. Long story short: you can add your own domain here (or later) but it’s not a requirement. For now, choose a free nohost.me subdomain. For example: cindy.nohost.me. If you do have a domain, configure your DNS at a later stage. This guide will skip that part, as it’s fully documented by YunoHost.
- -> After choosing your domain, fill out your password. Again, keep this close.
Main domain: ((domainname.nohost.me))
New administration password: ((password))
Confirm new administration password: ((password))- -> Create your first user on the portal by entering the following command, and replace
usernamewith anything you like. Fill out the subsequent questions.
yunohost user create ((username))

First name: ((firstname))
Last name: ((lastname))
Password: ((password))
Confirm password: ((password))
Available domains:
- ((domainname)).nohost.me
Domain to use for the user's email address and XMPP account: ((domainname)).nohost.me
Success! User created
fullname: ((firstname lastname))
mail: ((username))@((domainname)).nohost.me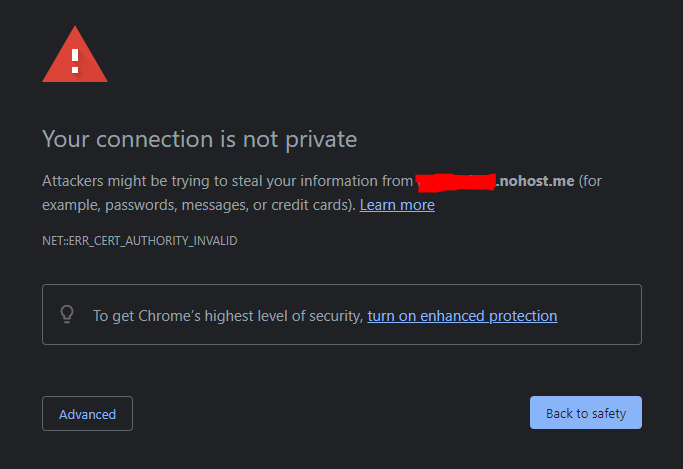
username: ((username))- -> Visit the domain you just chose in your browser. Initially, it will prompt you that the website is insecure – ignore this for now, but set up an SSL certificate (either your own or a custom one) later on!
- -> When you see the login screen, enter the username and password you chose for your first user.
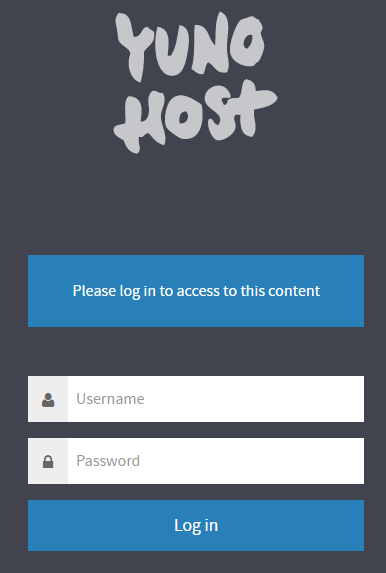
- -> Looks pretty empty for now. Let’s go into the admin panel.
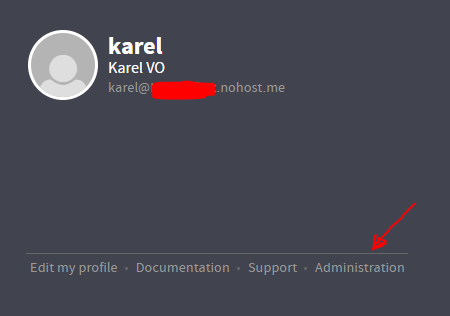

- -> …and you’re in! I strongly suggest running an initial diagnosis and setting up your certificates according to the documentation. However, this is not a requirement for our next steps.
Installing Tiny Tiny RSS
Finally, we’re ready to install our feed aggregator from Yunohost’s extensive list of one-click install applications. Out of the box, YH offers multiple RSS readers – including the much-loved FreshRSS. Upon trying my options, I decided to stick with my original choice: Tiny Tiny RSS (aka TT-RSS).

To install TT-RSS on YunoHost, follow these steps:
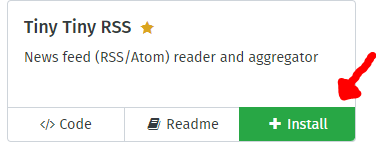
- -> Navigate to the applications repository.
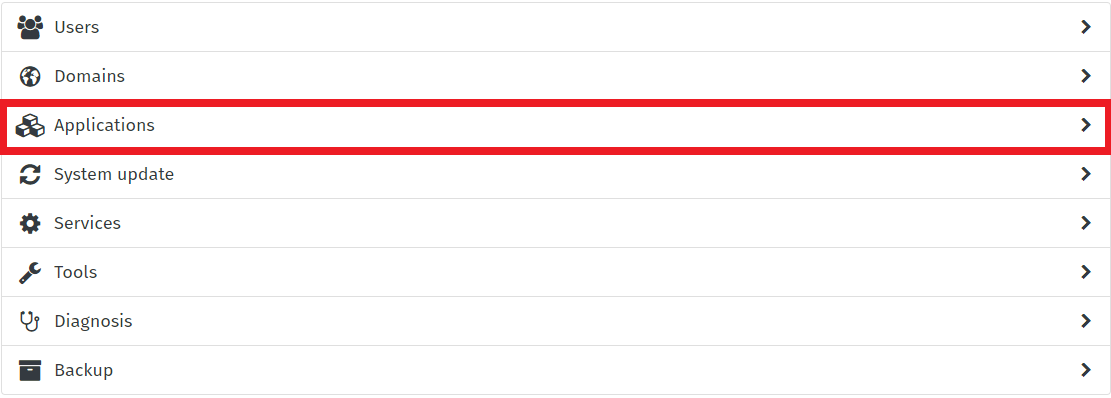
- -> Search for Tiny Tiny RSS, and click on “+ Install”
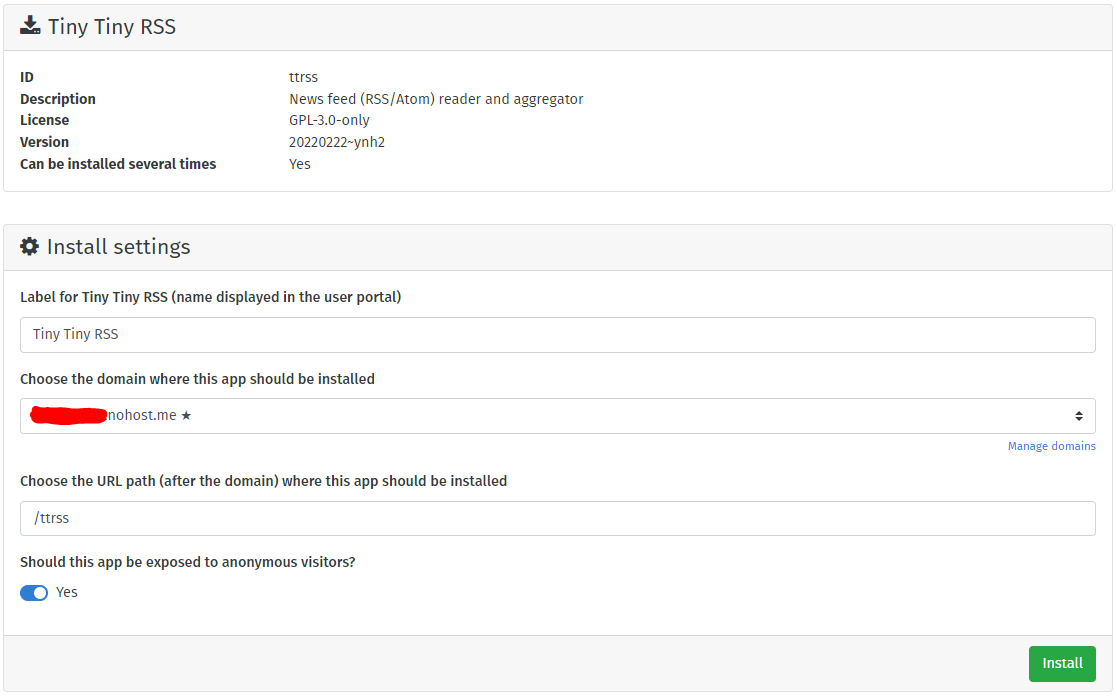
- -> or the final configurations, input the following:
- *Label: this is how TT-RSS will be named in your YunoHost user panel. I suggest keeping it as is.
- Domain: pick the domain where you want TT-RSS to be installed. You’ll always have your .nohost.me available.
- URL path: basically, this is how you will “reach” the application. e.g. example.nohost.me/ttrss
- Exposed: in essence, this means “can a visitor that isn’t logged in see that TT-RSS is installed?” If yes, when visiting the specified URL you’ll get a login screen from TT-RSS via which you can log in with your YH user credentials to access the app directly. If not, you’re redirected to the general YH login portal. I suggest keeping it as yes, there’s no harm done in leaving it open.
- -> Wait for the installation to run and complete. As the install script does everything for you (including downloading the package, creating MySQL databases, installing all components, etc.), this can take up to a minute.
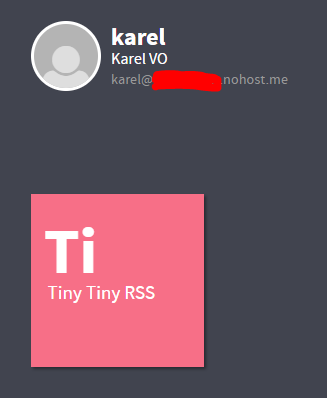
- -> Huzzah! Your application is now installed. Access it via the URL you specified, or by logging into your YunoHost user interface and clicking on the Tiny Tiny RSS tile.
- -> One more thing before you can get started: due to how the YunoHost team has configured their TT-RSS offering, you’ll need to perform the following upon your first login.
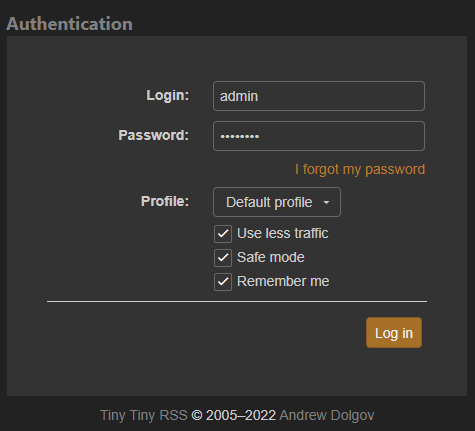
- -> Log in with the credentials
adminandpassword.
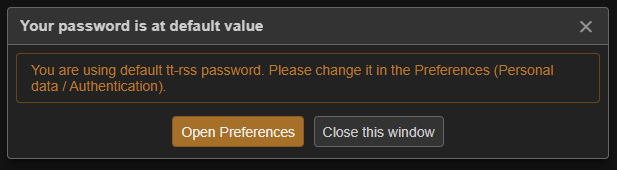
- -> You’ll see this notification upon logging in. Click “Open Preferences”.
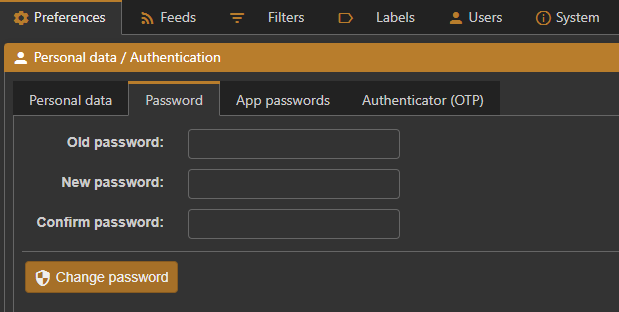
- -> Navigate to “Personal Data / Authentication” > “Password”, and change your password to whatever you like.
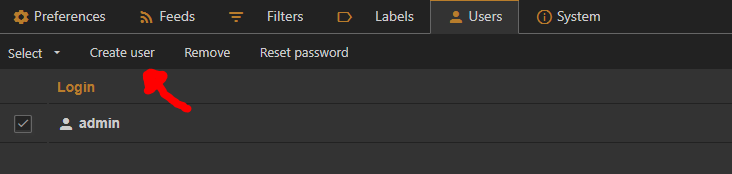
- -> Remember that when logging in, you should use the username ‘admin’ and the password you specified here. If you want to add users (or simply want the login username to be your own), you can navigate to “Users” and create any numbers of users you’d like there. Note: these will all have their own separate account i.e. feeds.
And you’re all set! Enjoy your fully self-hosted Tiny Tiny RSS!
Since it’s outside of the scope of this blog post: if you’re unsure on how to get started with Tiny Tiny RSS, check out the TT-RSS documentation.
Feedly theme (optional)
Tiny Tiny RSS comes with a handful of themes. However, if those don’t suit your needs, you can always switch to the (IMHO more polished) TT-RSS Feedly theme – click the link for screenshots. To do so, take the following steps:
- -> SSH into your machine.
- -> Paste the following command to download the theme package.
wget https://github.com/levito/tt-rss-feedly-theme/archive/master.zip- -> Unzip the file you just downloaded.
unzip master.zip- -> Navigate into the folder you just created.
cd tt-rss-feedly-theme-master- -> The line below will copy all files starting with ‘feedly’ (i.e. the theme .css files) to your YunoHost TT-RSS themes folder. We’ll need admin access rights, so start with ‘sudo’.
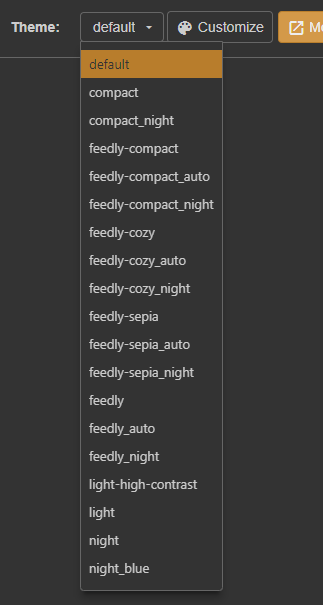
sudo cp -r feedly* /var/www/ttrss/themes/- -> Refresh your TT-RSS instance. You’ll now have the new themes available to you in the settings menu via “Preferences”.
Third-party applications (optional)
I like to read my feeds on the go. For Android, FeedMe is the best TT-RSS supported feed reader I could find at the time of writing. It’s bulging with features (many more than my previous official Inoreader app, for example) and nothing’s behind and pay/adwall – but you have the option to support the developer from within the app.

Whichever third-party application you choose, you need to take the following steps:
- -> First (and probably hardest) step: you’ll need a valid SSL certificate for your YunoHost domain. Take a look at their documentation if you’re unsure of how to do this.
- -> In your TT-RSS settings, enable access through the API.

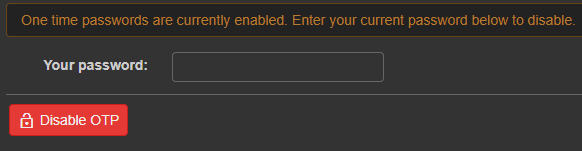
- -> Next up, enable OTP. Scan the QR code found in “Personal data / Authentication” > “Authenticator (OTP)” with your authenticator app of choice (such as Google Authenticator), fill out your password and the code your app generates…

- -> …after which OTP should be enabled.
- -> Then, navigate to “App passwords” and create a new password. The password you receive can’t be chosen – nor can it be changed, unless you remake it.
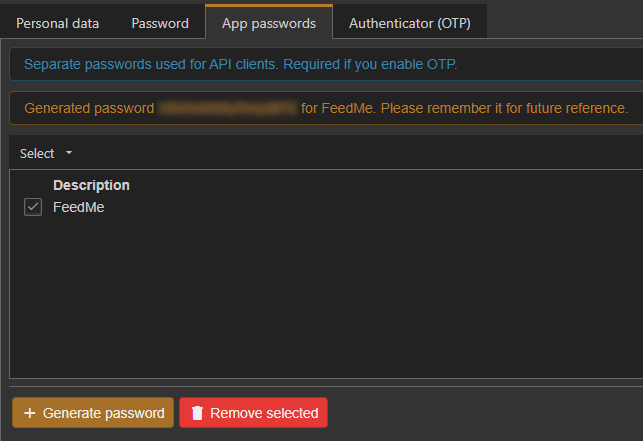
- -> Use that password, together with your host (the URL where your TT-RSS is installed) and username (admin or otherwise) to log into your third-party application.
I hope this was a helpful guide. If you have any feedback or questions, you can always contact me via the contact button on the homepage!